If you have a curious feline in your family, you know they love to explore the outdoors. But the risks that come with outdoor exploration can be dangerous for your cat, including the chance of them getting lost or injured. For those who have the space at home (big backyards are the best). An outdoor cat enclosure is a great way to keep your kitty safe and happy while allowing them to enjoy the outside world. With a few basic supplies and a bit of DIY know-how, you can easily make your build your catio in no time!
Cat enclosures are a great option if you're not able to go on regular harness walks. Not only do they provide a safe space for your kitty to explore the outdoors, but they also allow them to get some much-needed exercise and fresh air. Plus, a cat enclosure keeps your cat safe from potential predators or other dangers. With a netted cat enclosure, you can give your kitty the best of both worlds—the safety of being indoors and the thrill of exploring the great outdoors.
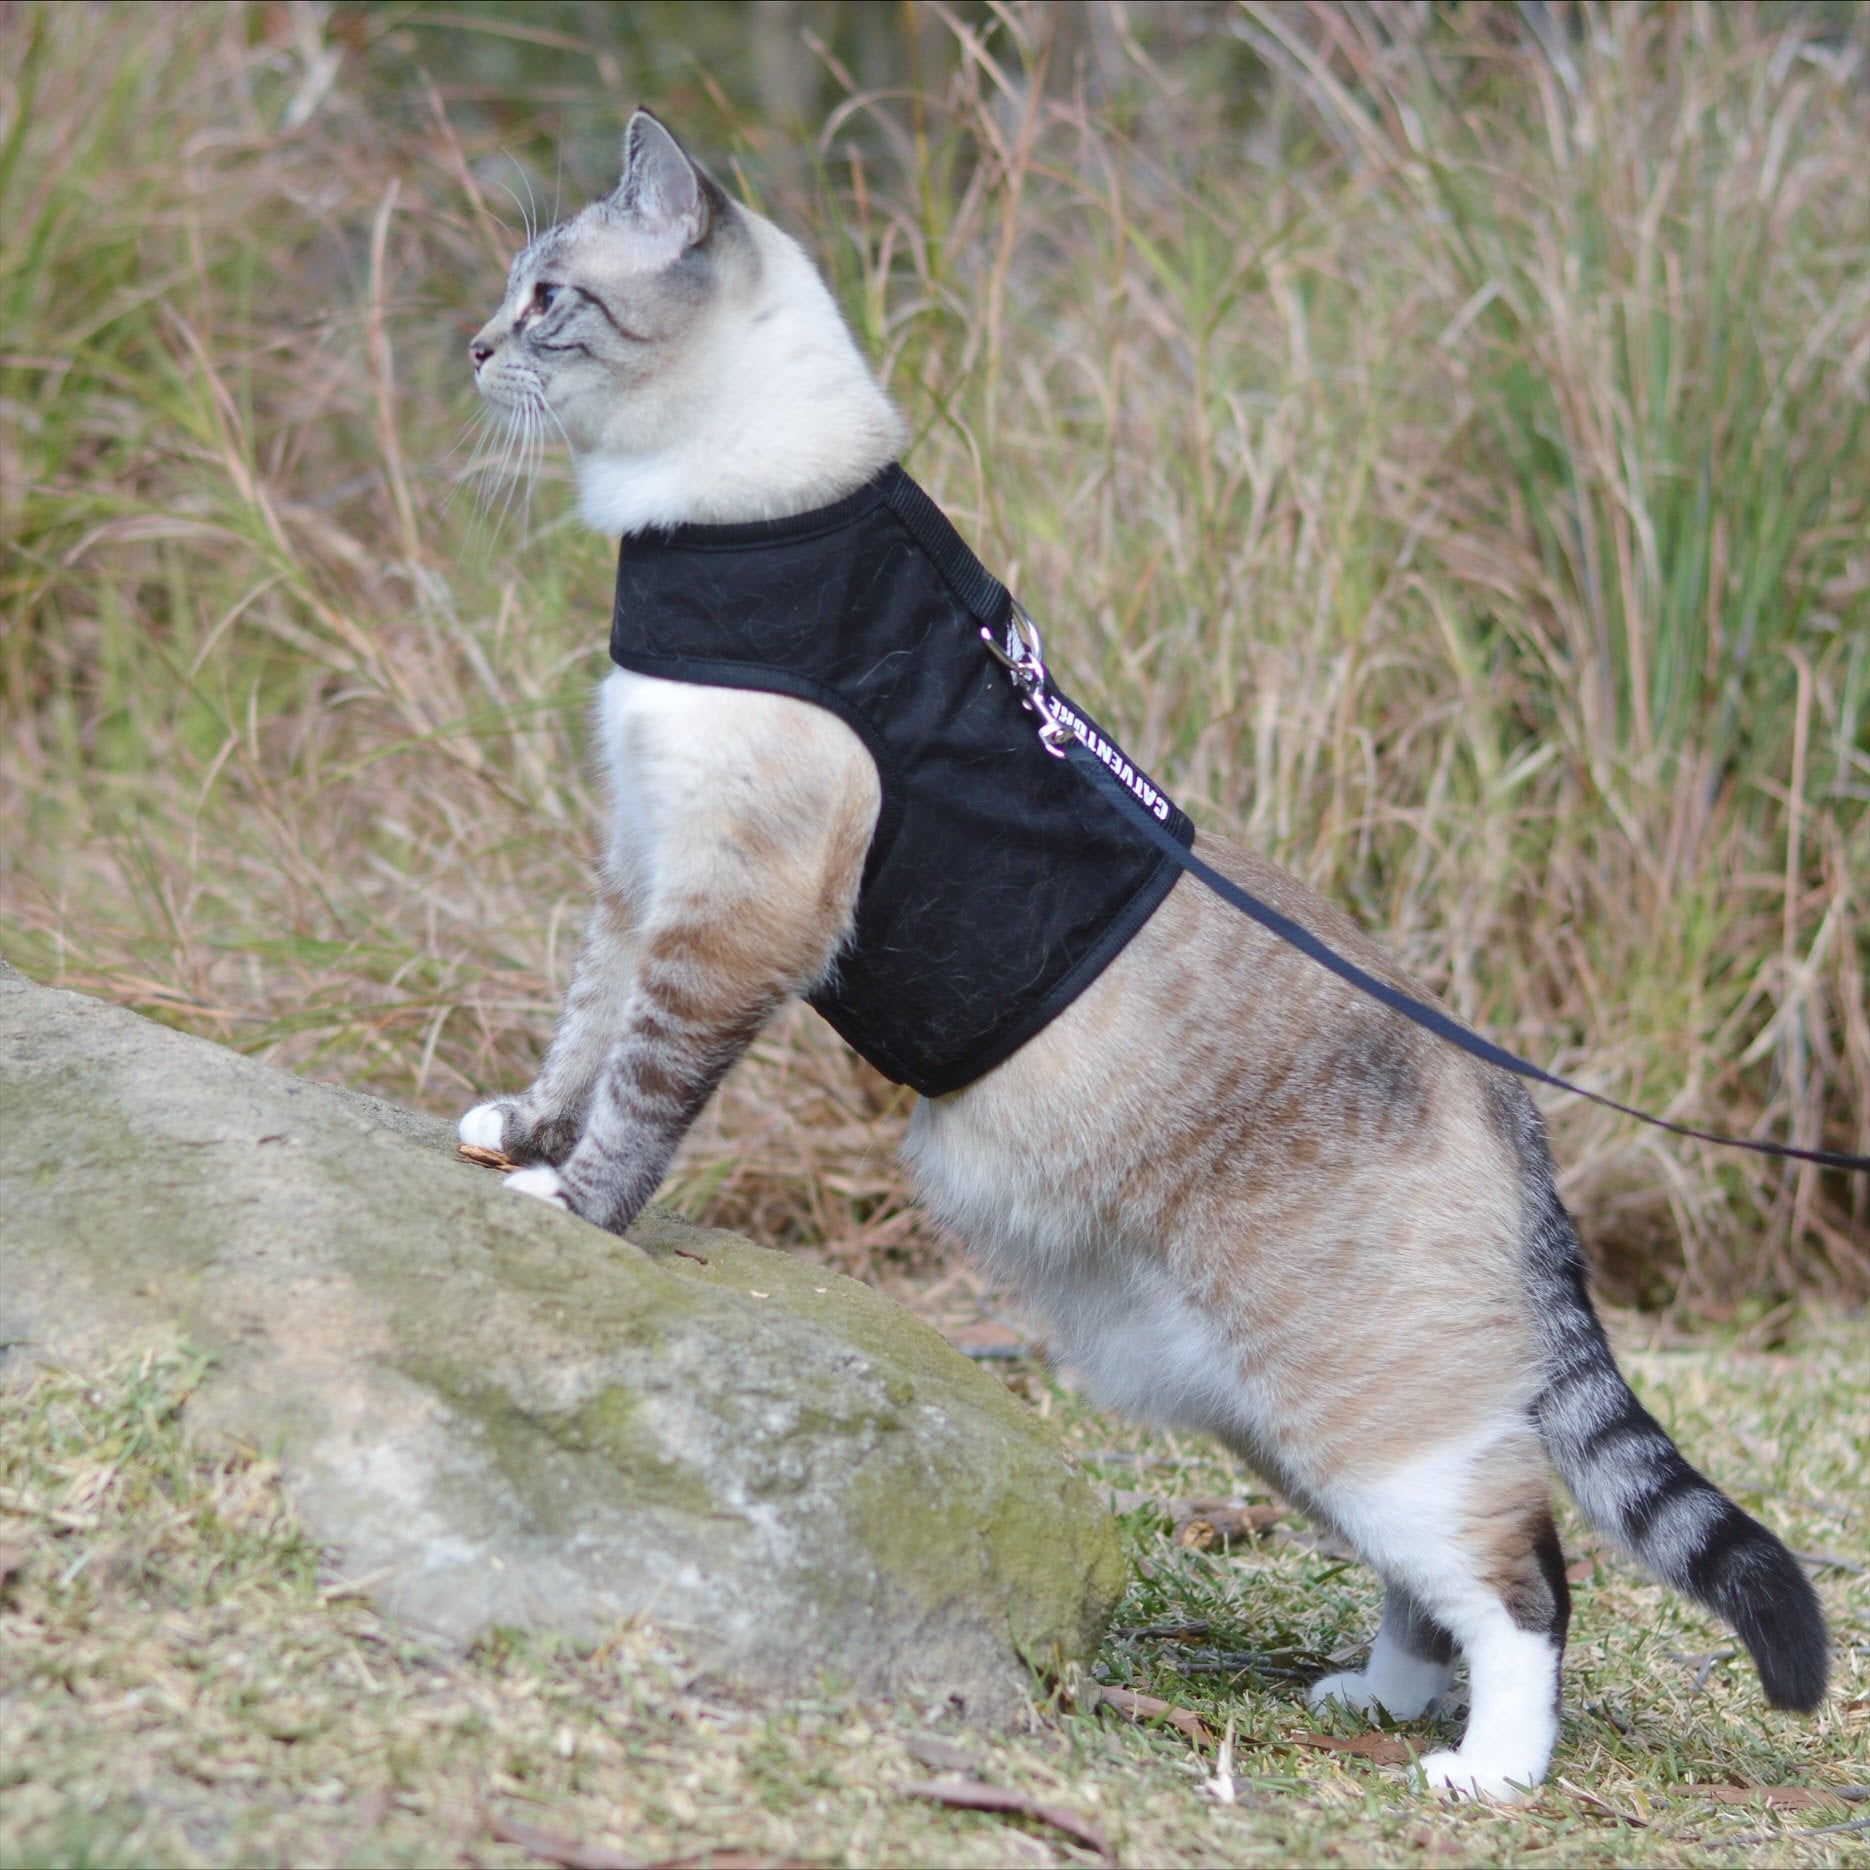
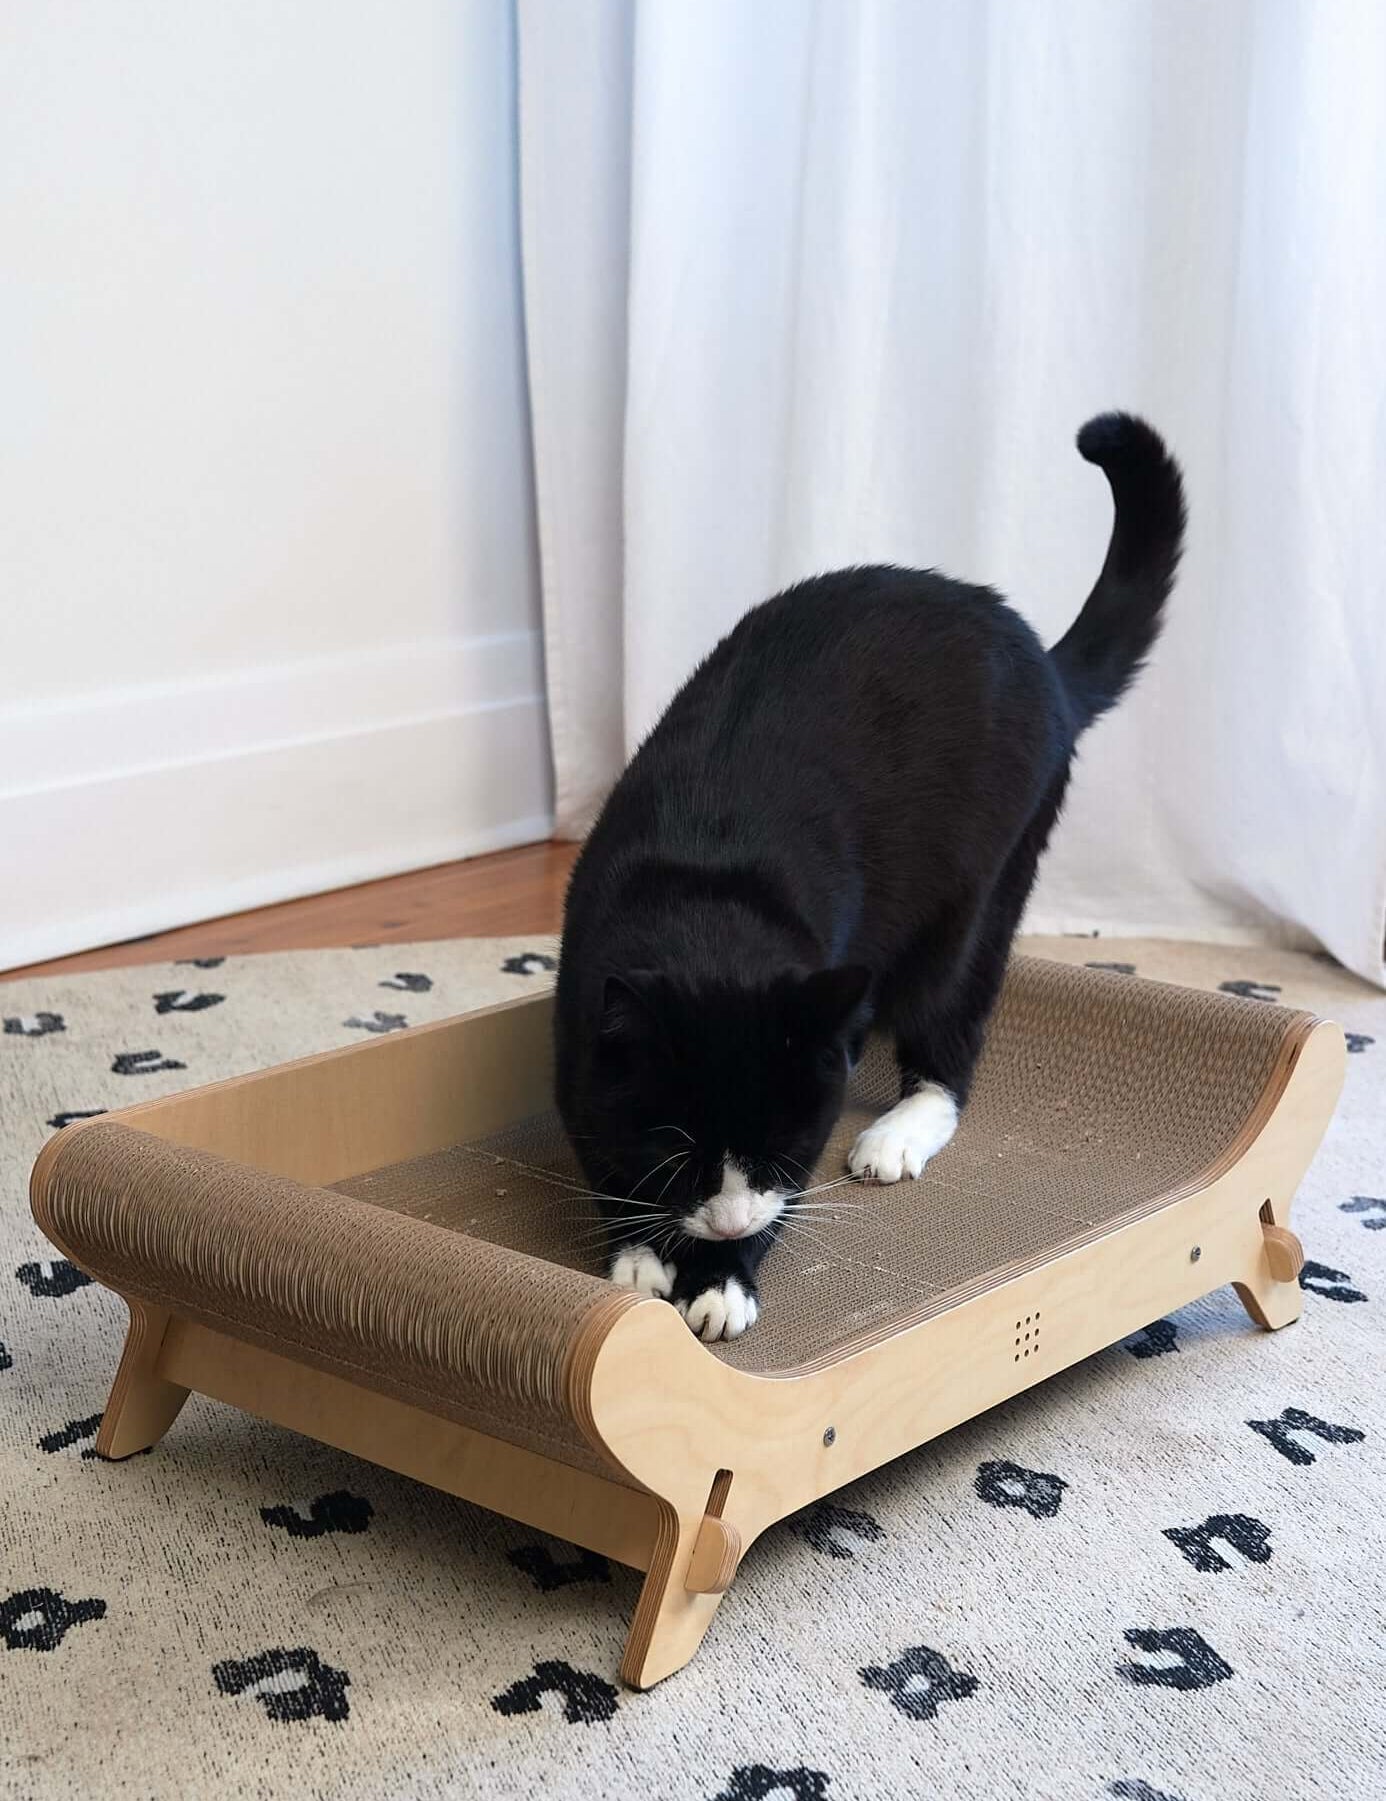
The legends at Noosa Country Cat Hotel offer a luxury, sophisticated and gloriously comfortable stay for their boarding cats which include time in their custom built catio, featured above. As well as walks in our Catventure harness, as seen below.
1. Gather Supplies
To get started, you’ll need to purchase some do it yourself cat netting material. You’ll want to make sure you get a strong, durable netting material that will be able to withstand the elements and the wear and tear of your cat’s claws. Make sure the netting you choose is tightly woven, so your cat won’t be able to get its claws stuck in it. You’ll also need to buy a frame for the enclosure. This can be made out of PVC piping, wood, or metal, depending on your preferences and budget. You'll also need some chicken wire, wire mesh and a cat shelter for them to hang out in out of the sun.
2. Design the Enclosure
First, you’ll need a catio plan. Determine the size and shape of your enclosure. This will depend on the size of your yard and the amount of space you have available. You’ll also need to decide if you want a single-level enclosure or a multi-level one. Once you’ve determined the size and shape, you can begin to measure and cut the netting.
3. How To Install Cat Netting
Next, you’ll need to attach the netting to the frame. You have several options here, including zip ties, rope, and even cable ties. Whichever method you choose, make sure the netting is securely attached to the frame. Once the netting is securely attached, you can begin to attach the frame to whatever structure you want to use. This could be a fence or a freestanding frame.
4. Create an Access Point
Finally, you’ll need to create an access point for your feline friend. This can be as simple as a flap in the netting or as elaborate as an actual door. Whichever option you choose, make sure it’s secure so your cat can’t escape. If you are unable to create an access point. Then our Catventure harness is ideal for walking your cat to the enclosure from your house.
5. Enjoy the Finished Product
And that’s it! Once you’ve made your netted cat enclosure, you can give your kitty hours of safe outdoor exploration. Just remember to check the enclosure regularly for any signs of wear or tear, and always provide your cat with plenty of food, water, and shade. With the right care, your cat will be able to enjoy their outdoor adventures in the safety of their own netted enclosure.


